· tutorials · 4 min read
Making a roguelike in C# using GoRogue and SadConsole (Part One)
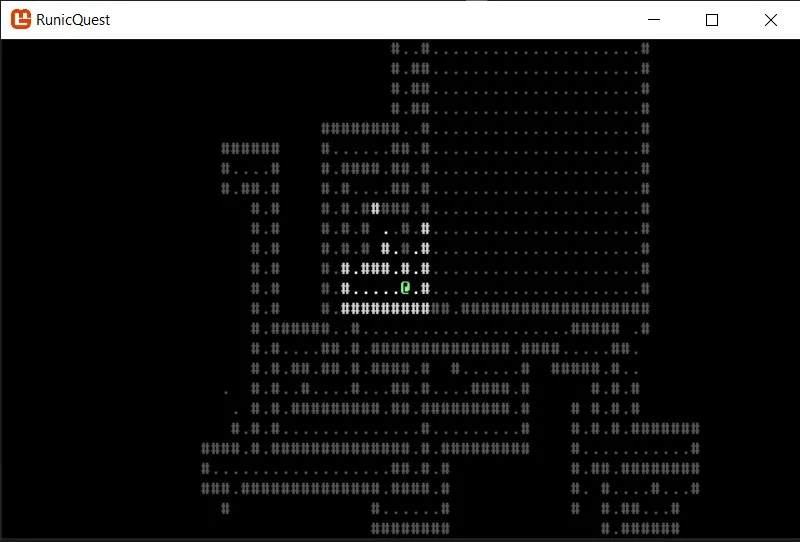
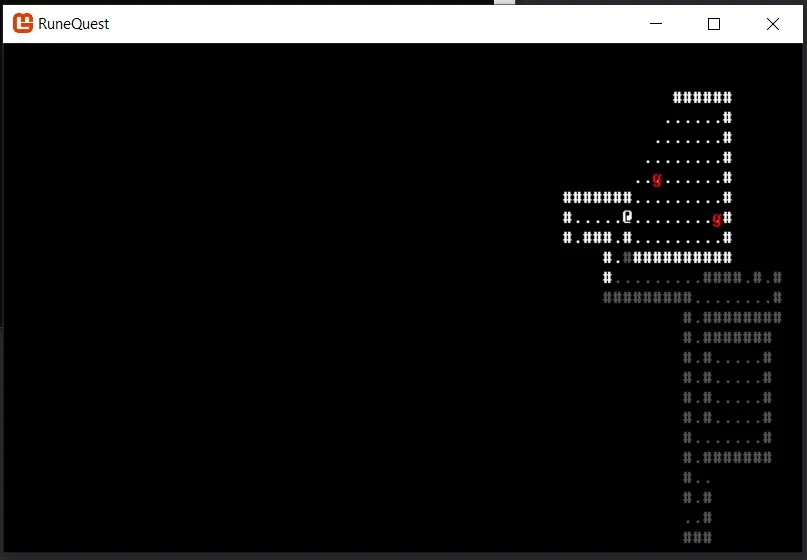
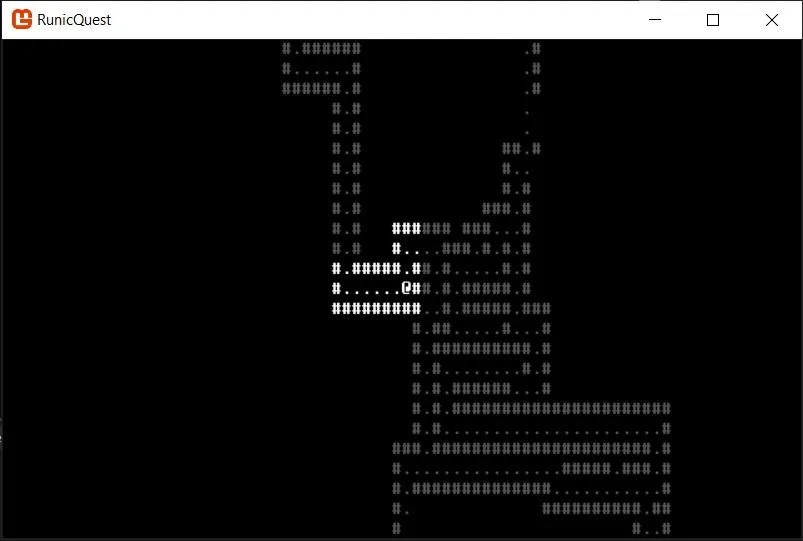
Interested in developing your own console-based roguelike similar to Nethack? By the end of part one of this tutorial, you will have laid the groundwork for a basic game which looks something like the following:

Cross-Platform Considerations
.NET core is cross-platform and has two great libraries which are conducive to creating great roguelikes - Go Rogue and Sadconsole. While GoRogue is a .NET Standard roguelike library written in C#, SadConsole is a “MonoGame 3.7-based game library that provides an engine to emulate old-school console and command prompt style graphics”. There’s also a great helper library known as Sadconsole.GoRogueHelpers which bridges the gaps between the two.
Recommended Reading
Fortunately, I was able to find a superb tutorial series which was able to take me quite far into my journey. Aptly named The SadConsole Roguelike Tutorial Series, the guide explains the basics of using Sad Console to create a roguelike. Getting started, I’m going to assume that you’ve read and followed that guide up until part 13 as it explains a lot about the roguelike creation process (although it is optional since we’ll be working with a NuGet template soon!).
Setting up the SadConSole.GoRogueHelpers Template
On Nuget, there’s a handy template Created by Chris3606 (Go Rogue’s creator) which starts you off with a simple game template which supports:
- Map generation
- Player movement
- Static enemy spawning
- FOV rendering
Unlike the Ansiware tutorial, this template uses the SadConsole Go Rogue integration library in order to unlock Go Rogue’s powerful features such as map generation and line of sight.
After some helpful chats with Thraka and Chris3606, (The respective creators of SadConsole and Go Rogue), I was pointed to a NuGet Template which I could use to build a more complete project.
To install the template, open a new command prompt and run:
dotnet new --install TheSadRogue.GoRogueSadConsole.Templates
Next, in your project folder, run
dotnet new goroguesadconsolegame -o some_new_folder
After running the commands, I was left with a folder which contained the following files:
- MapScreen.cs
- Player.cs
- Program.cs
- RunicQuest.csproj
- RunicQuestMap.cs
Running the template project produced this game window:

Awesome, we now have a base template to build off of!
Adjusting the Map size
The first thing I wanted to implement was a center on player feature. In order to do so, I needed to create a map larger than the viewport.
I edited Program.cs and modified the starting constants in order to separate the map and viewport dimensions. At the top of the Program class, I added:
private const int ViewPortWidth = 80;
private const int ViewPortHeight = 25;

private const int MapWidth = 500;
private const int MapHeight = 500;
Now we have two sets of definitions, one for the game map size, and the other for the view size.
Next, I modified the game creation constructor to accept the viewport variables:
// Setup the engine and create the main window.
SadConsole.Game.Create(ViewPortWidth, ViewPortHeight);
Lastly, I modified the MapScreen constructor arguments so that we’re passing both the game size and viewport size parameters:
MapScreen = new MapScreen(MapWidth, MapHeight, ViewPortWidth, ViewPortHeight);
After compiling the game, I was now greeted with the following screen:

Now that the map size is larger than the viewport, the player remains centered on the map as we explore it!
After adjusting the map and viewport sizes, its a good idea to modify the GenerateDungeonMazeMap() argument parameters inside MapScreen.cs in order to be more suitable for a 500x500 map. I’m not sure what the ideal parameters are for a room of this size is, and so I recommend playing around until you find something that works for you. For me, the following settings worked well for now:
QuickGenerators.GenerateDungeonMazeMap(tempMap, minRooms: 80, maxRooms: 140, roomMinSize: 12, roomMaxSize: 24);
Change the player and wall colors
The following two changes were simple to make, and also give the game a bit of character. In the Player.cs file, I changed the Player() constructor color like so:
public Player(Coord position) : base(Color.LightGreen, Color.Black, '@', position, (int)MapLayer.PLAYER, isWalkable: false, isTransparent: true) => FOVRadius = 10;
Aside from changing the colors, you can also change the player symbol, FOV radius, and clipping layers.
For the curious, you can see (and fork!) my entire codebase here on Github.
Part One Conclusion
In part one of the article, we did a whole lot of stuff that may take several days to digest. Firstly, we installed the GoRogue integration template and then laid the groundwork for our own game by changing the map size, centering the player, and changing a few colors.
If at any time you find yourself stuck, I suggest leaving a comment below and I’ll do my best to help answer! Moreover, there’s a terrific community on the SadConsole Discord Server that I highly recommend checking out. The devs of both Sadconsole and Go Rogue are very active (and super helpful!) there, and there’s also a friendly dev community with other members eager to help out.
In Part 2 of this series, we create a UIManager and implement a scrolling message logger into our game!